Purpose of this tutorial
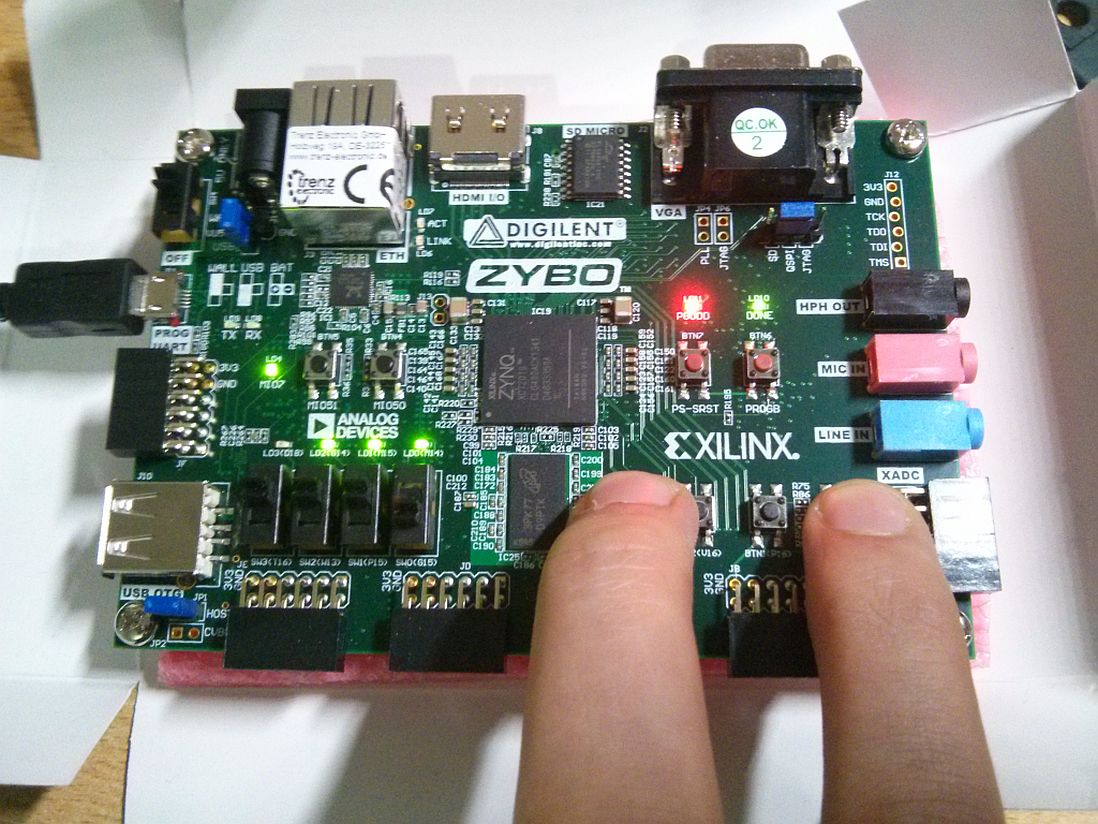
I created this tutorial to provide a quick start into the hardware and software design workflow with Xilinx PlanAhead when using the Digilent ZYBO (or ZedBoard) Zynq AP SoC evaluation board. It is targeted at beginners of the Xilinx software suite who do not want to or are not able to use Vivado. Also, only very little code is actually written in this tutorial so it might be considered a start for people diving into FPGAs who simply need something to start with.
In this tutorial, the four slide switches as well the the four buttons will be used to drive the LEDs.
VHDL will be used as the description language, but using Verilog instead should be no problem.

Described workflow
- A new project will be created in PlanAhead.
- In Xilinx Platform Studio (XPS), the board will be configured and a user IP will be created.
- The peripheral will be edited in ISE.
- In Xilinx Platform Studio, the edited IP will be reimported.
- In PlanAhead, a top-level wrapper will be created and user constraints will be added.
- The project will be synthesized and implemented.
- A bitstream will be generated for usage in iMPACT or Export to Xilinx SDK
- In Xilinx SDK, an example programm will be created and debugged.
If you are using Xilinx tools for Linux, things may look different but the overall workflow should be the same.